поделюсь полезностями

тут по английски , но вообщем то все понятно кто язык не знает.

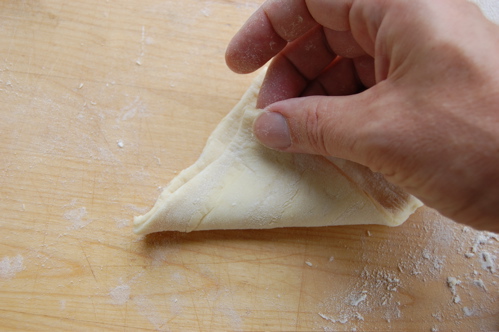
Fold the bottom half up to make a triangle, but don't press down or seal it.
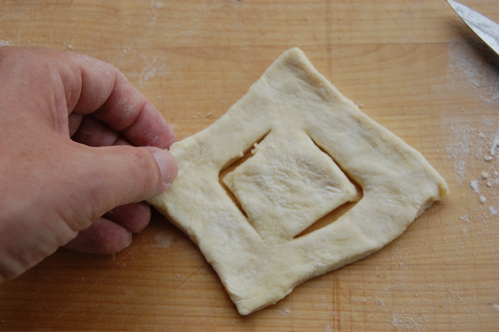
Cut two slits in the dough, parallel to the outside edge, about two thirds of the way to the center of the dough piece...
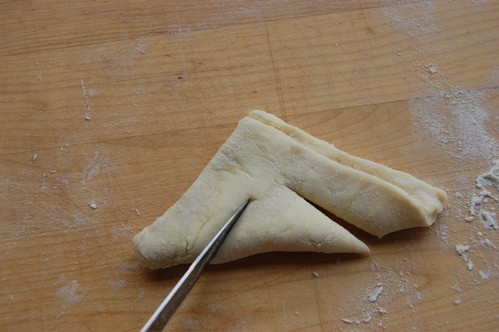
...and unfold the dough square. Turn it so there's a slit on either side.
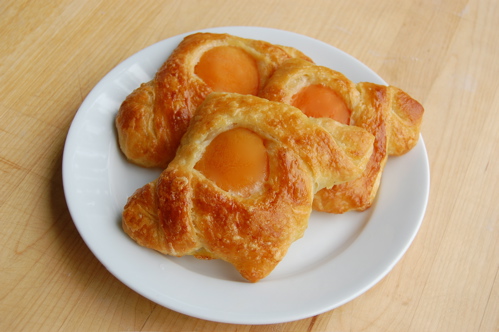
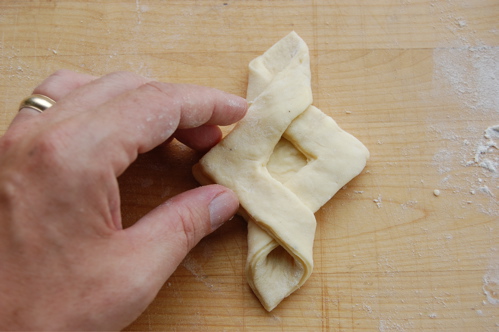
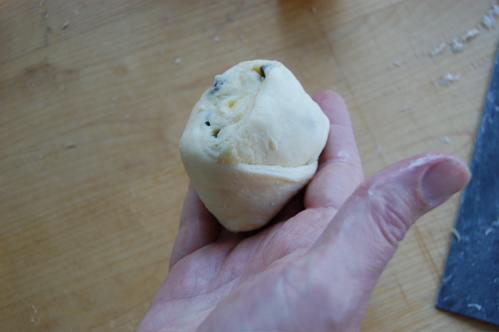
Now then, fold in the sides, tucking the left-side point through the gap in the right-side point (put an apricot half in the very middle beforehand, if you wish).
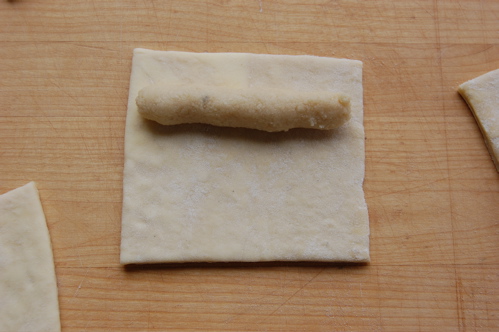
Roll a small log of filling between your palms and place near the edge of one of your dough squares.
Now then, dip your finger in water and moisten the top edge of the square.
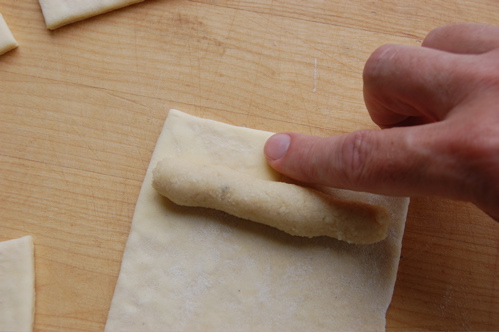
Then fold the dough over the filling, leaving a lip on the bottom.

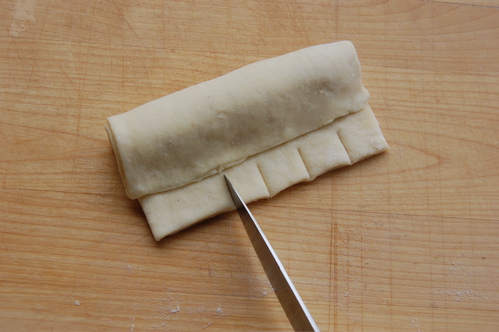
With a sharp knife, make several small cuts in the lip...

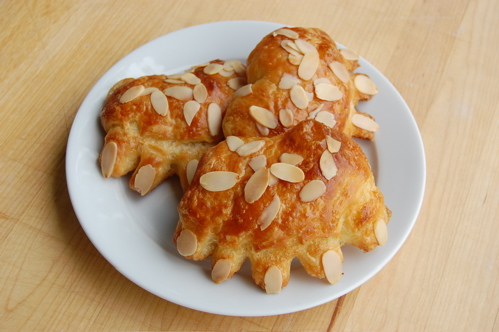
Proof and paint with egg wash as with classic sweet rolls, then sprinkle the tops with slivered
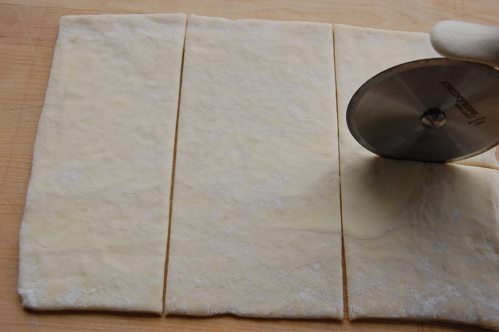
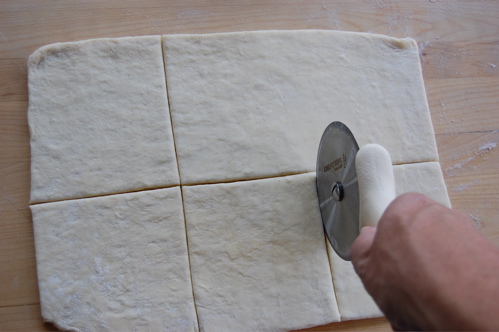
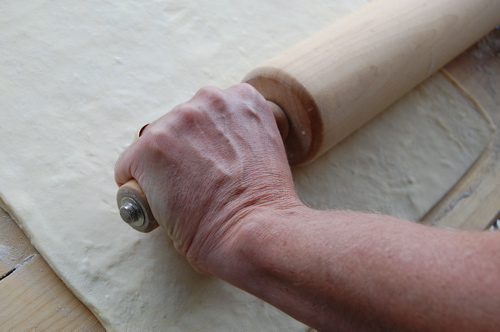
Here's another very simple one that anyone can do in the comfort of their own living room: the pinwheel. As with the cheese Danish, start by rolling out about a pound and a half of dough into a rectangle about a quarter inch thick (the exactly dimensions aren't important.

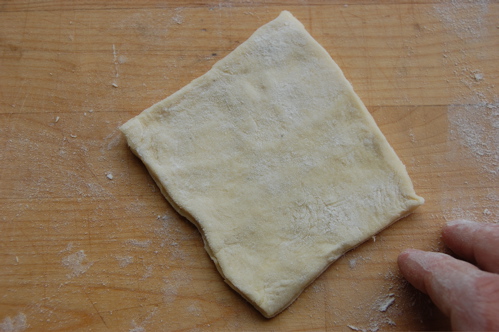
Starting with a rough square...

...cut slits in the dough from (almost) the center outward.
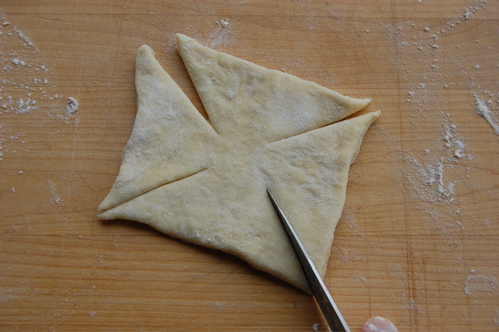
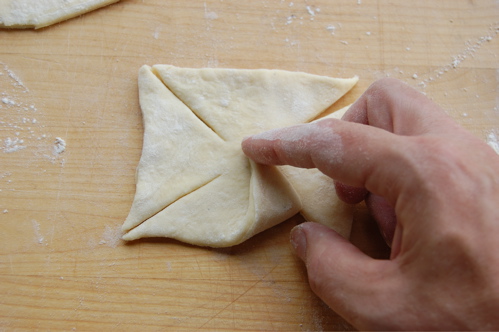
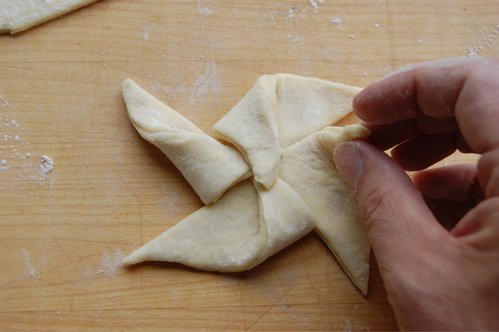
Bring up the right-side corner of each resulting "triangle" to the center of the dough piece and press it down lightly.
And you're done!
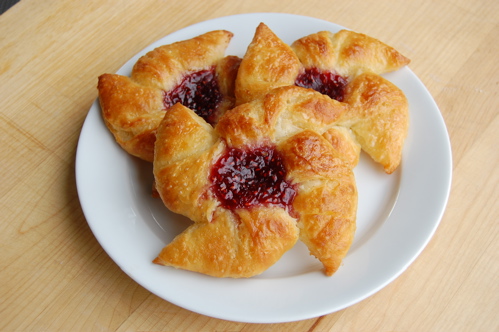
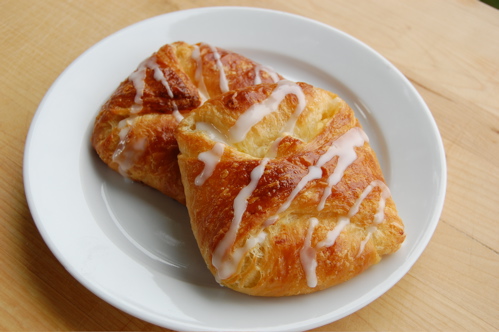
Proof like classic sweet rolls. Similarly make a depression in the center of the proofed Danish with the back of a spoon, then fill it with a teaspoon or so of whatever jam you like. Brush with egg
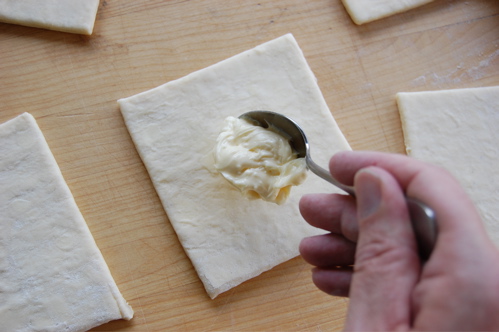
Spoon about tablespoon of filling into the middle of the square.
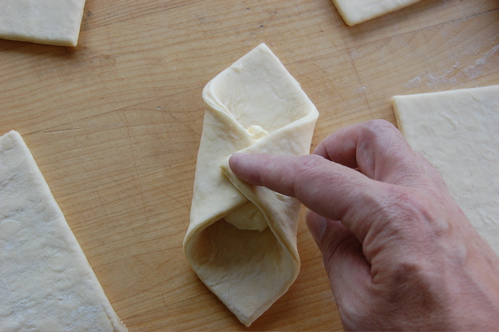
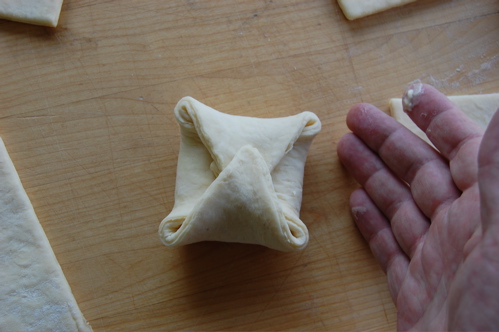
Then fold in the the first two corners. (NOTE: Stop here if you wish to make the Danish pastry shape known as an "envelope", though this shape most commonly has jam or fruit in it).
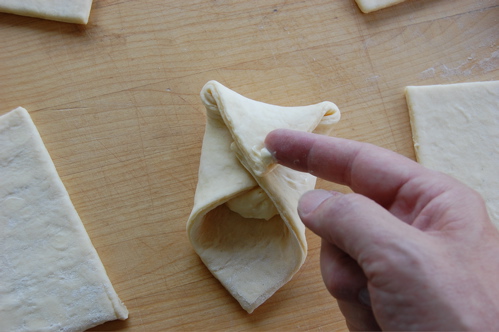
Bring in the third corner and using your finger, dab a little bit of the cheese filling on it as a sealing compound.
Fold in the last corner and you're done!
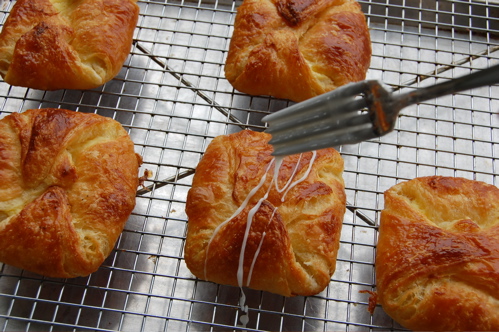
Proof, paint with egg wash and bake just like classic sweet rolls. In an ideal world I'd have made some streusel topping to sprinkle on top of these before I baked them (that's how I learned to make'em anyway), but heck, a little icing after baking works just as well:

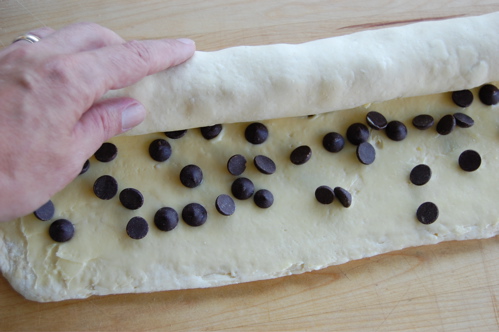
Gently turn in the top edge...
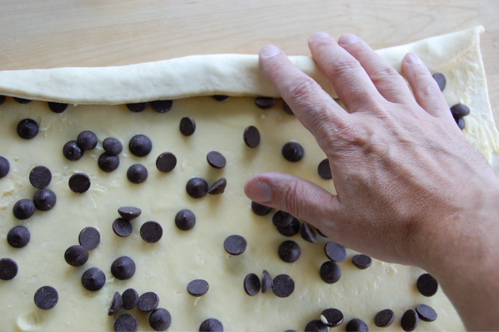
...and using both hands (only one pictured) roll the whole thing up.
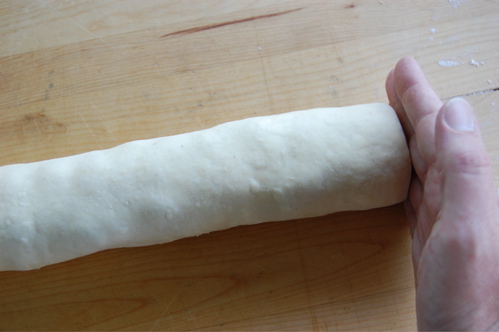
Shore up the ends with your hand and roll the tube back and forth a little to solidify it a bit. The roll should be about an inch-and-a-half to two inches in diameter. If it isn't, just roll it out with your palms like a baguette until it is. (Don't forget to shore the ends up again afterward).
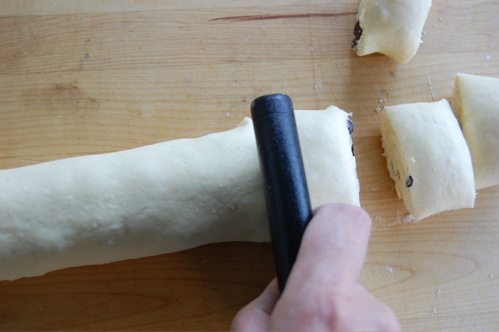
Now, using your trusty bench scraper (or a knife), cut them into roughly inch to inch-and-a-quarter-long pieces. Don't worry if they're a littl squished, you can squeeze them back into shape. (IMPORTANT NOTE:
Never show fear before pastry, my friends, or you will never earn its respect).
Now all you need to do is peel back about the last inch or so from the roll...
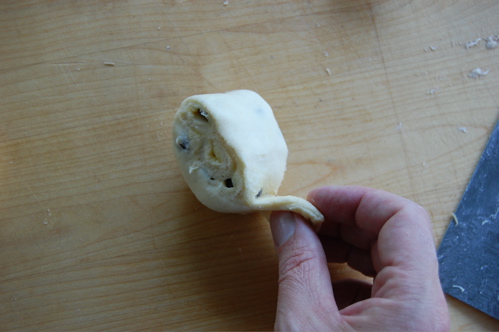
...and tuck it underneath to keep it from unraveling in the oven.
Proof, brush with egg wash and bake just like you would classic sweet rolls. Drizzle with simple icing — or even chocolate — if you wish.
09/11/08
The Classic Sweet Roll
Filed under:
Blog,
Danish Pastry— by
joe @ 08:24:29 am
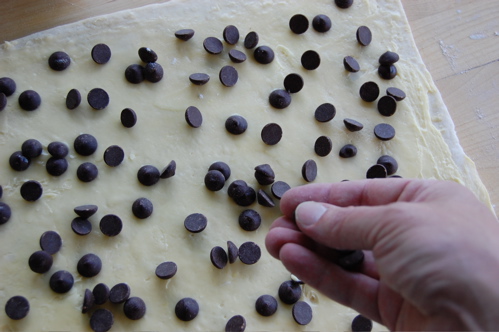
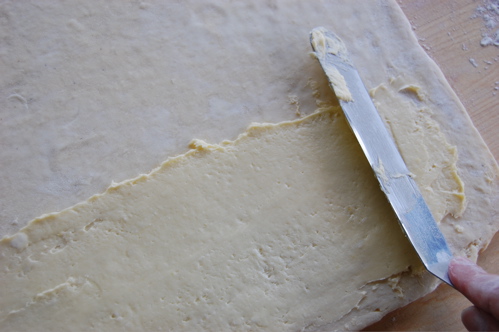
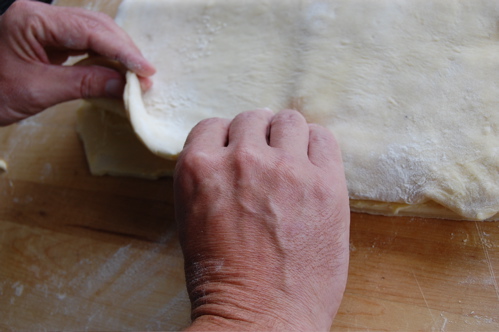
Trim up the sides a little to square it off, the spread a thin layer of vanilla buttercream frosting (I always make a point to stash leftover buttercream from other projects in the freezer) on the half of the pastry sheet closest to you.
Fold the top half down to enclosed the buttercream...
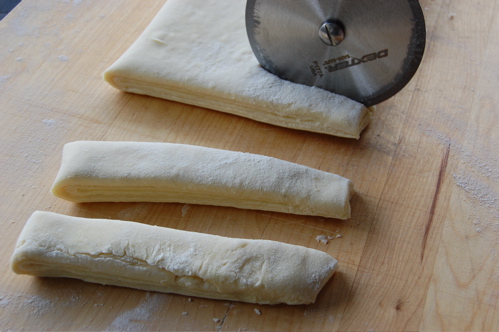
Then cut the dough into roughly 1/2-inch thick strips. (Actually, I should have rolled the dough out a little more first to make the strips longer, but I forgot. Oh, what my former pastry task master Fanuel would say!)
Now then, grasping the strip on each end, stretch the dough strip out, flipping it back and forth like you're trying to dry the ink on a check.
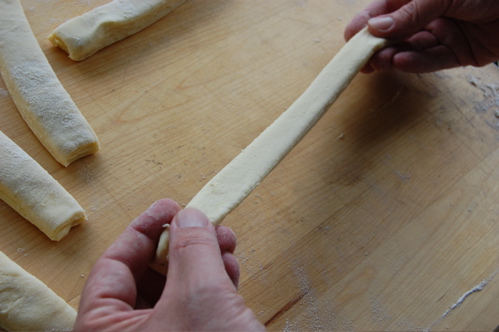
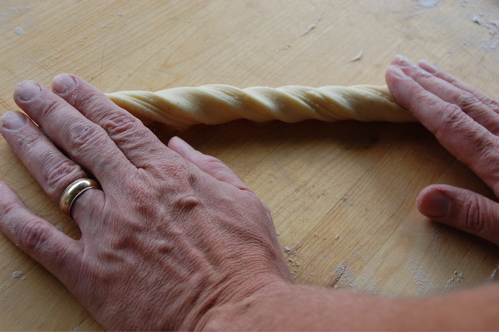
When it's long enough (and ideally, this strip should be about half again as long...) press one end down onto the board with you index finger...
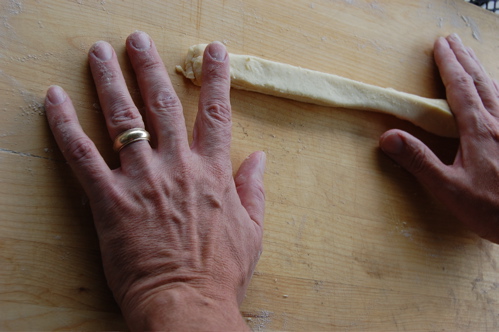
...then use the palm of the other hand to roll the strip toward you. What you get, as you see, is an attractive twist.
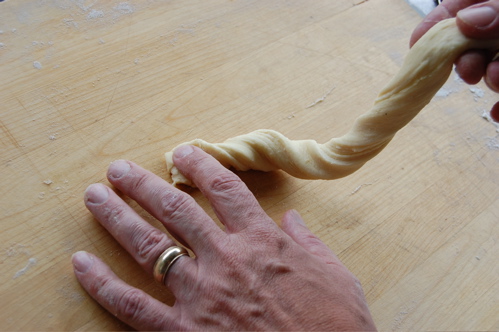
Now, still holding one end of the dough strip down, drape the strip down and around the center point in a curlicue.
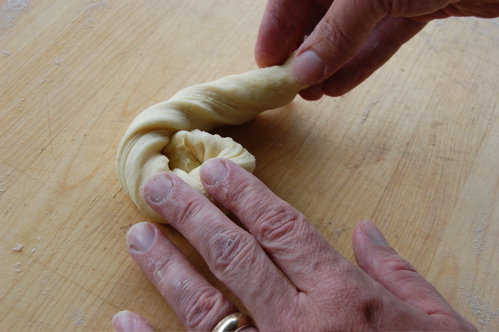
Bring it around and around...
...tuck the last half inch underneath so the pastry doesn't unravel in the oven...
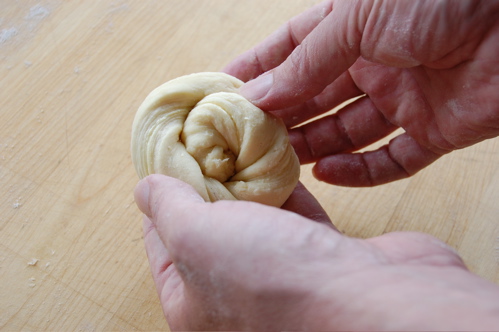
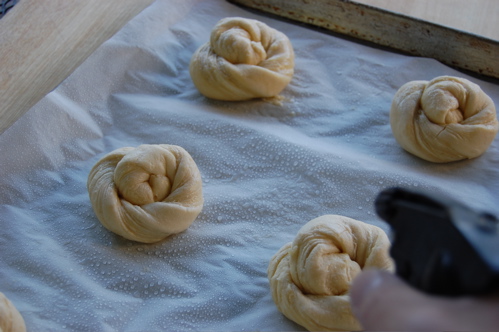
...and — ta da! You're done. A nice little heap of clothes, as my former boss used to say. Again, a longer strip gives you more of a swirl...but heck, it's close enough for blogging, am I right?

Put them on a parchment-lined sheet pan, six per sheet. At this point you can start proofing the pastries in anticipation of baking right away, or put them in the fridge overnight. If you don't have a proof box, don't worry about it. Just give them a spritz of water to keep the outer skin moist...
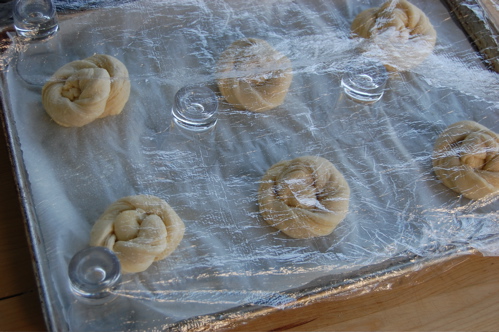
...then cover them with lightly oiled plastic wrap (or you can drape the plastic over upturned shot glasses to keep it from touching...which is what I like to do). You'll want to give them a light spritz with water every 45 minutes or so to keep them supple.
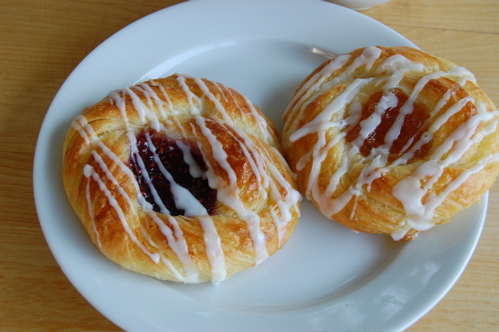
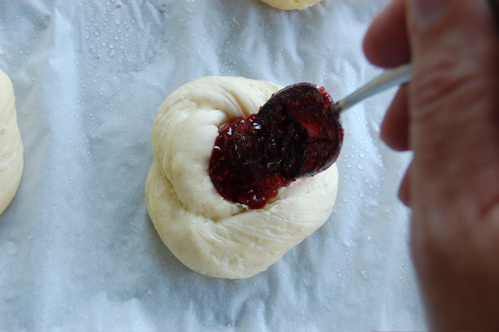
Once the Danishes have proofed and are soft and airy to the touch, about two hours at room temperature (closer to three hours if the pastries have been refrigerated) make a deep depression in the middle of the Danish with the back of a spoon and lay in about a tablespoon of any jam you like.
Brush with egg wash and bake in a preheated 375-degree oven for about fifteen minutes or until golden. After the Danishes have cooled on a wire rack, drizzle them with a simple powdered sugar and water "five finger" icing.


 с киви и тертым горьким шоколадом.
  Вкус необычный


 Все, мне надо!!

